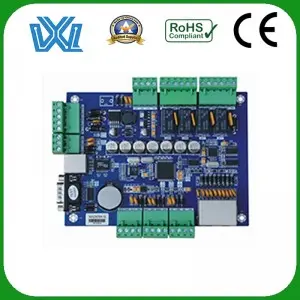
PCB (Printed Circuit Board) coatings play a vital role in protecting circuits from harsh external environments. However, in some cases, it may be necessary to remove the PCB coating for repair or modification purposes. In this comprehensive guide, we’ll walk you through the steps to safely and effectively remove PCB coatings. With the right technique and tools, you can successfully remove the coating without causing any damage to the delicate circuitry.
1. Understand PCB coating
Before diving into the removal process, it’s worth understanding the types of PCB coatings you’re likely to encounter. Common coatings include acrylic, epoxy, polyurethane, silicone, and parylene. Each type has its own characteristics and requires specific removal techniques. Before starting the removal process, it is critical to identify the coating used on the PCB to ensure the proper method is used.
2. Safety Precautions
Safety should be your top priority when working with PCB coatings. Make sure to wear goggles, gloves, and a breathing mask to protect yourself from chemical fumes. Also, work in a well-ventilated area to minimize exposure to hazardous substances. Keep a fire extinguisher nearby and follow all safety guidelines and instructions provided by the paint manufacturer.
3. Choose the right tool
To effectively remove PCB coating, you need a specialized set of tools. These may include hot air rework stations, heat guns, soldering irons, precision knives, and PCB cleaning solutions. The choice of tool depends on the type of coating and the size of the area you want to remove.
4. Step-by-step deletion process
- Step 1: Prepare the PCB by removing any components, connectors or wires that may hinder the coating removal process.
- Step 2: Determine the type of coating. Acrylic and epoxy coatings can often be softened and removed using a heat gun or hot air rework station. Silicone or parylene coatings, on the other hand, may require chemical strippers or specialty solvents.
- Step 3: Gently heat the coating using a suitable method, making sure not to overheat or damage the PCB.
- Step 4: Using a precision knife or other suitable tool, carefully scrape off the softened coating. Be careful not to damage the underlying circuitry.
- Step 5: After removing most of the coating, use a PCB cleaning solution to remove any residue or traces of residue.
- Step 6: Rinse the PCB thoroughly with isopropanol or deionized water to remove any cleaning solution residue.
- STEP 7: Allow the PCB to dry completely before reassembling or performing any other work.
5. Precautions after deletion
After successful PCB coating removal, it is important to inspect the board for any potential damage. Check for any lifted or damaged traces, broken vias, or damaged components. If any issues are found, they should be fixed before continuing with further work.
Removing PCB coating requires patience, precision and the right tools. By following the step-by-step process outlined in this guide, you can safely and effectively remove coatings from PCBs. Remember to exercise caution, follow safety guidelines, and take necessary post-disassembly precautions to ensure circuit integrity. Happy coating removal!
Post time: Aug-14-2023

