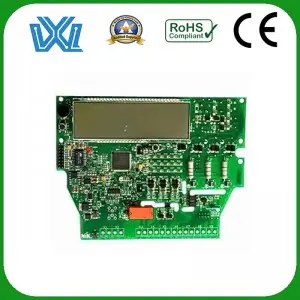
In the realm of DIY projects, creating your own printed circuit board (PCB) CNC machine at home can improve your skills and open up countless possibilities for designing and manufacturing electronics projects. This blog post will guide you through the process of building your own PCB CNC machine to bring your ideas to life with precision and innovation.
1. Know the basic components:
First, it is important to be familiar with the basic components required to build a PCB CNC machine. These usually include:
a) Stepper Motors: These motors are necessary to control the movement of CNC machine tools.
b) Controller Board: It acts as the brain of the machine, allowing you to send commands and control its movement.
c) Spindle motor: responsible for cutting PCB.
d) Linear guides and bearings: These provide stability and smooth motion to CNC machines.
e) Ball Screws and Lead Screws: These convert rotary motion into linear motion.
2. Frame design:
When building a PCB CNC machine, the frame plays a vital role in ensuring stability and accuracy during operation. Aluminum or sturdy PVC material is recommended for a sturdy frame. When assembling the frame, use exact measurements and secure all parts securely.
3. Assemble the mechanical parts:
Next, assemble the mechanical parts. Follow the manufacturer’s instructions to install the stepper motor, controller board, spindle motor, linear guides, and bearings. Pay close attention to properly aligning components for seamless movement and accuracy.
4. Wiring and electronics:
The wiring and electronics of a PCB CNC machine require careful attention. Connect the stepper motors to the controller board, making sure the wiring is neat and organized. Protect all electrical connections from any short circuits or loose connections.
5. Software and Calibration:
Choose the appropriate software to control your CNC machine such as GRBL or Mach3. These programs enable you to send commands to the CNC machine, controlling the motion and cutting process. Calibration is critical for accurate results. Adjust the steps per millimeter (depending on your machine) to ensure precise movement of the CNC machine.
6. Testing and Troubleshooting:
Before using your PCB CNC machine, thoroughly test all its features. Ensure smooth motion, proper tool alignment, and correct execution of software commands. Fix any issues that arise and fine-tune the machine until it meets your expectations.
7. Create and manufacture the PCB:
With a full-featured PCB CNC machine, you can now design and manufacture your own PCBs. Design a circuit board using software such as Eagle or KiCad, convert it to G-code, and send the file to a CNC machine for fabrication. Enjoy the thrill of turning your ideas into tangible circuit boards!
Building your own PCB CNC machine at home is a rewarding journey that combines your passion for electronics and craft. By following the steps above, you can bring your creative vision to life with precision and efficiency. Remember to always put safety first and enjoy every step of the way with this exciting DIY project. Unleash your inner creator and embark on a journey to create your own PCB CNC machine at home!
Post time: Aug-09-2023

