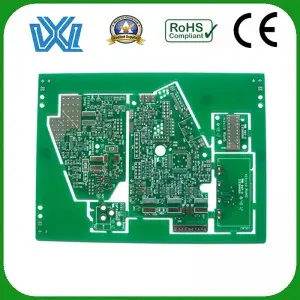
In the world of electronics and circuits, printed circuit boards (PCBs) play a vital role in connecting and powering various components. Connecting two PCB boards is a common practice, especially when designing complex systems or extending functionality. In this blog, we will guide you through the process of seamlessly connecting two PCB boards.
Step 1: Know the connection requirements:
Before diving into the process, it is important to determine the specific needs of connecting two PCB boards. It can be used to expand functionality, create larger circuits, or just facilitate communication between two boards. This understanding will guide us in choosing the appropriate connection method.
Step 2: Choose the connection method:
There are several ways to connect two PCB boards. Let’s explore some common options:
1. Welding:
Soldering is the most widely used method of joining PCB boards. It involves providing an electrical connection by melting a metal alloy (solder) to create a strong bond between the copper pads of two boards. Make sure to align it properly and use a soldering iron of the proper temperature for a reliable solder joint.
2. Connector:
Using connectors provides a more convenient method for connecting and disconnecting PCB boards. There are various types of connectors on the market such as headers, sockets and ribbon cables. Select the appropriate connector type based on your specific requirements.
3. Wiring:
For simple and temporary connections, wires can be used to bridge the necessary connections between the PCB boards. Strip the wire ends, tin them with solder, and connect them to their respective pads on the two boards. This approach is useful during the prototyping or debugging phase.
Step 3: Prepare the PCB board:
Before proceeding with the connections, make sure that both PCB boards are ready for integration:
1. Clean the surface: Use detergent or isopropyl alcohol to remove any dirt, flux residue or oxide from the copper pads.
2. Optimize component layout: If you want to connect assembled PCB boards, please make sure that the components on the two boards will not interfere with each other. Adjust the layout if necessary.
Step 4: Implement the connection method:
Now that we have the connection method and the PCB board ready, let’s start connecting them:
1. Welding method:
a. Align the PCB board properly, making sure that the corresponding copper pads face each other.
b. Apply a small amount of flux to the pad to remove oxides and contamination.
c. Heat the soldering iron and touch it to the solder joint so that the molten solder flows evenly between the pads. Be careful not to overheat components on the PCB.
2. Connection method:
a. Determine the appropriate connectors for your board and mount them accordingly on the two PCBs.
b. Ensure proper alignment and push the connectors together firmly until they are securely mated.
3. Wiring method:
a. Determine the required connections between the two PCB boards.
b. Cut the appropriate length of wire and strip the ends.
c. Tinning the ends of the wires with solder will improve connection reliability.
d. Solder the tinned wire ends to the corresponding pads on both PCBs, ensuring proper alignment.
Connecting two PCB boards is an essential skill for electronics hobbyists and professionals. By following the step-by-step guide provided above and knowing the specific requirements, you can successfully create a reliable connection between PCB boards. Just remember to be careful during this process so you don’t damage the board or components. Happy connecting!
Post time: Aug-30-2023

