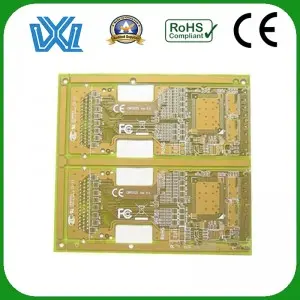
Welcome back, tech lovers and DIY enthusiasts! Today, our focus is on PCB boards, that is, printed circuit boards. These small but vital components are at the heart of most electronic devices and are responsible for ensuring their correct function. Whether you are a professional engineer or a hobbyist, knowing how to inspect a PCB board is critical to troubleshooting and maintaining electrical equipment. So, let’s dive into the necessary steps to test and ensure PCB board reliability!
1. Visual inspection:
The first step in inspecting a PCB is to conduct a thorough visual inspection. Check the circuit board for any physical damage, such as corrosion, burned components, or loose connections. Check for signs of breakage or damage, misaligned components, or signs of overheating. A visual inspection may seem simple, but it can help effectively identify potential problems.
2. Component inspection:
After the visual inspection, proceed to inspect each component on the PCB board. Start by making sure all components are installed, aligned, and soldered correctly. Use a multimeter to measure the resistance and continuity of capacitors, resistors, and other electrical components. Pay special attention to components that may be prone to failure, such as capacitors with protruding tops or burned out resistors.
3. Power on test:
Once the visual inspection and component inspection are complete, it’s time to perform a power-on test. Connect the PCB board to a reliable power source according to the manufacturer’s specifications. Monitor your motherboard for unusual behavior, such as overheating, smoking, or sudden shutdowns. Please be careful not to touch any components while the board is powered on, as high voltages may pose a shock hazard.
4. Signal test:
In addition to power-on testing, the signals sent and received by the PCB board must also be checked. Use an oscilloscope to monitor output signals and voltage levels and compare them to required specifications. Verify that the signal is stable without any distortion or fluctuations. This step is critical, especially in complex PCB boards where multiple components interact.
5. Functional testing:
In order to ensure the perfect performance of the PCB board, it is crucial to perform functional testing. Connect the board to the appropriate device it operates on, such as a motor or sensor. Check that the PCB board performs its intended function correctly. Verify that input-output relationships are accurate and that all functionality works as expected. This step may require more advanced equipment such as a logic analyzer or function generator, depending on the complexity of the PCB board.
Congratulations! By following the above steps, you have learned how to effectively check the functionality and performance of your PCB board. Remember, accurate testing is critical to ensuring your electronic equipment operates smoothly and reliably. If any issues arise during testing, understanding the root cause is the first step to solving the problem. In the event of severe damage or complex issues, seek professional help from PCB experts or electronics repair technicians immediately. Stay curious, keep learning, and enjoy PCB board experiments!
Post time: Sep-22-2023

